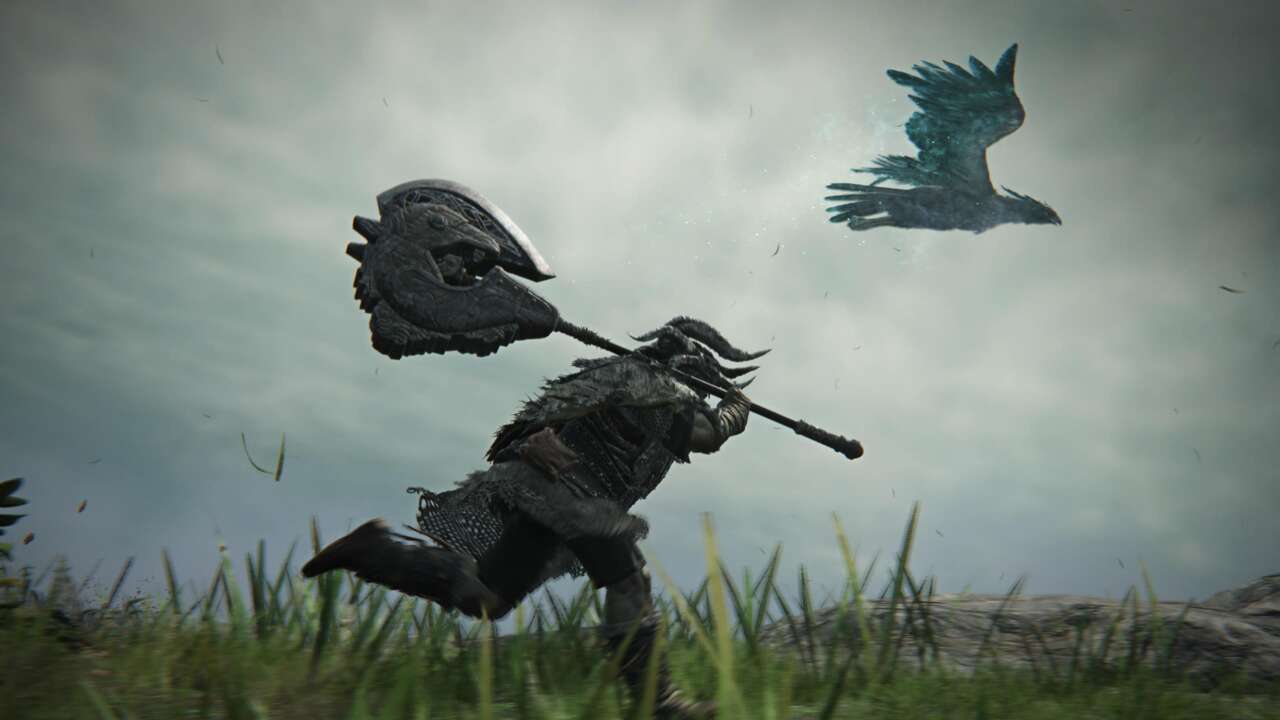
Elden Ring Nightreign features a number of different classes to choose from as you and a couple of friends go up against the Night Lords. The Raider is a heavy character, best used with large weapons, like battle axes. Despite his large size, he is not exactly a tank like the Guardian class, but he can take quite a bit of damage.
The Raider is best if you enjoy using slow-but-hard-hitting weapons. He pairs well with Ironeye, as breaking Ironeye’s Marking ability deals a ton of damage. This guide covers the Raider’s abilities, along with some Relic types that work well. Be sure to also check out our look at the best Elden Ring Nightreign classes and our Elden Ring Nightreign guides hub.
How the Raider Class works in Elden Ring Nightreign
The Raider is all about Strength, which is really the only attribute he has going for him. That makes two-handed weapons, although you will want to dual wield them, his primary go-to, which can make using him a bit difficult. Nightreign moves quickly, and the Raider moves slowly, with slow weapon swings. He also is lacking in Stamina, limiting the frequency of his attacks, making it even slower to deal damage as the Raider. With attentive teammates and at least one other melee attacker, the Raider works well.
The Raider has some relatively strong abilities, which we have detailed below:
Passive Ability: Fighter’s Resolve
Taking enough damage increases the output of the Raider’s character skill. The boost makes it so you cannot be knocked down while using it and increases the damage output. You can tell when this kicks by the audio cue or the white haze that appears coming off the Raider.
Character Skill: Retaliate
Using this causes the Raider to assume a powerful stance and start throwing punches. When used with the passive charge, it does low damage and little stagger, but that damage and stagger is massively increased with the passive active.
Ultimate Art: Totem Stela
The Raider drives his knife into the ground, causing a giant tombstone to appear underneath. This can be used in a couple ways. This will do damage and knock over enemies it’s used under, it can be used as an obstruction in the battlefield, and you can use it to raise up a downed teammate, for a slightly easier spot to revive them.
The Raider has high damage capabilities, but you will need to be mindful of your Stamina and slow attacks.
Best relics for Raider

With the random nature of Relic drops, it’s difficult to recommend an exact item to use, but here are the Relic types that often drop great stats for the Raider. The Raider’s default Urn includes one red and two green slots, while the Raider’s Goblet, obtained at the Small Jar Bazaar, contains a Red, Blue, and Yellow.
Polished Burning Scene
This relic can be seen dropping with boosts to Strength and specific armaments. In particular, there is one boost for HP Restoration upon using Axe Attacks, which can make it easier to sustain yourself as the Raider.
Grand Drizzly Scene
The Grand Drizzly Scene can also drop with increased Strength stats, and increased Ultimate Art Gauge, which allows you to use the Totem Stela more frequently, and this can be especially useful in tough boss fights where you would want a place to stand safely away from combat.
The best Raider stats to look for are Strength, increased Stamina and Stamina recovery, and any boosts related to heavy two-handed weapons. For additional tips, we have guides covering how to revive teammates faster, the best ways to farm runes, and how to break statues for some vital loot.