Are you curious about photo mode in Death Stranding 2: On the Beach? This feature can be seen in various games, though Death Stranding 2 happens to have a full suite that’s sure to surprise fans. We take a look at various functions and tidbits to help you capture those perfect moments.
How to use photo mode in Death Stranding 2
Photo mode can be activated by pressing the left-hand side of the PlayStation 5 DualSense controller’s touchpad. (The right-hand side of the touch pad causes your character, Sam, to call out or do a thumbs-up emote.)
Note: Photo mode and its full suite of options can be used during regular gameplay activities. You may also use it during cutscenes, albeit with limited functionality.
Camera angles, filters, and frames
Photo mode in Death Stranding 2 has a slew of options for you to check out. These include the following menus/panels:
- Game – Lets you show the UI, player signs/notifications, and Odradek scan icons.
- Camera – Lets you set the camera’s tilt, focus, and depth of field.
- Brightness/Filter – Make changes to exposure and contrast, as well as apply color filters–i.e. grayscale, sepia, dynamic, and so on.
- Lens Effect – Calibrate effects like vignette, lens distortion, chromatic aberration, and more.
- Frames – Add background frames and logos, such as the game’s title. This is perfect if you want to create an image that looks like a promotional poster.
Gallery
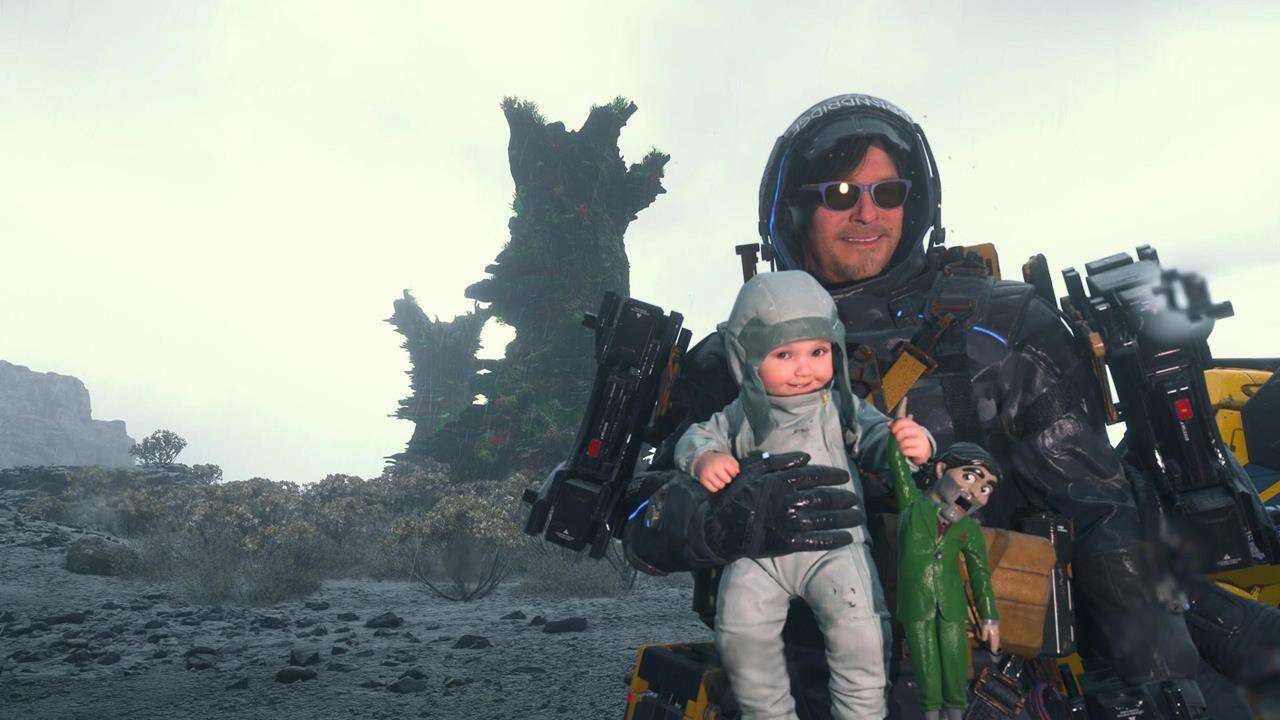
Character poses and expressions
Certain characters can have their poses and expressions altered via photo mode in Death Stranding 2:
- Sam has his own panel, wherein you can alter his pose and expression–i.e. smiling, winking, angry, and more.
- NPCs like Lou and Dollman have their own options, too.
You can change each character’s respective eyeline–i.e. if they’re facing the camera or not. In Sam’s case, you can also have his body face the direction of the camera. These allow you to create images that appear more dynamic or flashy.
Lighting options
There’s even a tab that lets you tweak lighting options. Here’s the gist:
- You can have up to three light sources. Their positions and angles can be changed by moving the left and right thumbsticks.
- It’s possible to configure each light source’s intensity, hue, spread, softness, and saturation. For instance, if you want white lighting only, then you have to lower the saturation significantly.
Since there are three light sources that you can toggle on, you can experiment on different placements and color combinations to come up with tense and atmospheric scenes.

Wallpaper-style images
If you’re happy with what you see before you, then you can save that image:
- Pressing the Share button simply saves the image to your PS5’s storage.
- Pressing the X button saves the image to your personal database. This can be accessed via the SSS menu or in a private room, where you could set the picture as your wallpaper.
That does it for our guide on how to use photo mode in Death Stranding 2. We hope you utilize this feature as much as possible to capture unforgettable instances in the game.
Humanity yearns to be interconnected once more, and it’s up to you to deliver the goods. If you need more help, then we’ve got you covered in our Death Stranding 2 guides hub.


")